Friday, December 24, 2010

Merry Christmas!

No Tutorial Tuesday this week, I've been busy getting the house ready for our first Seattle Christmas.


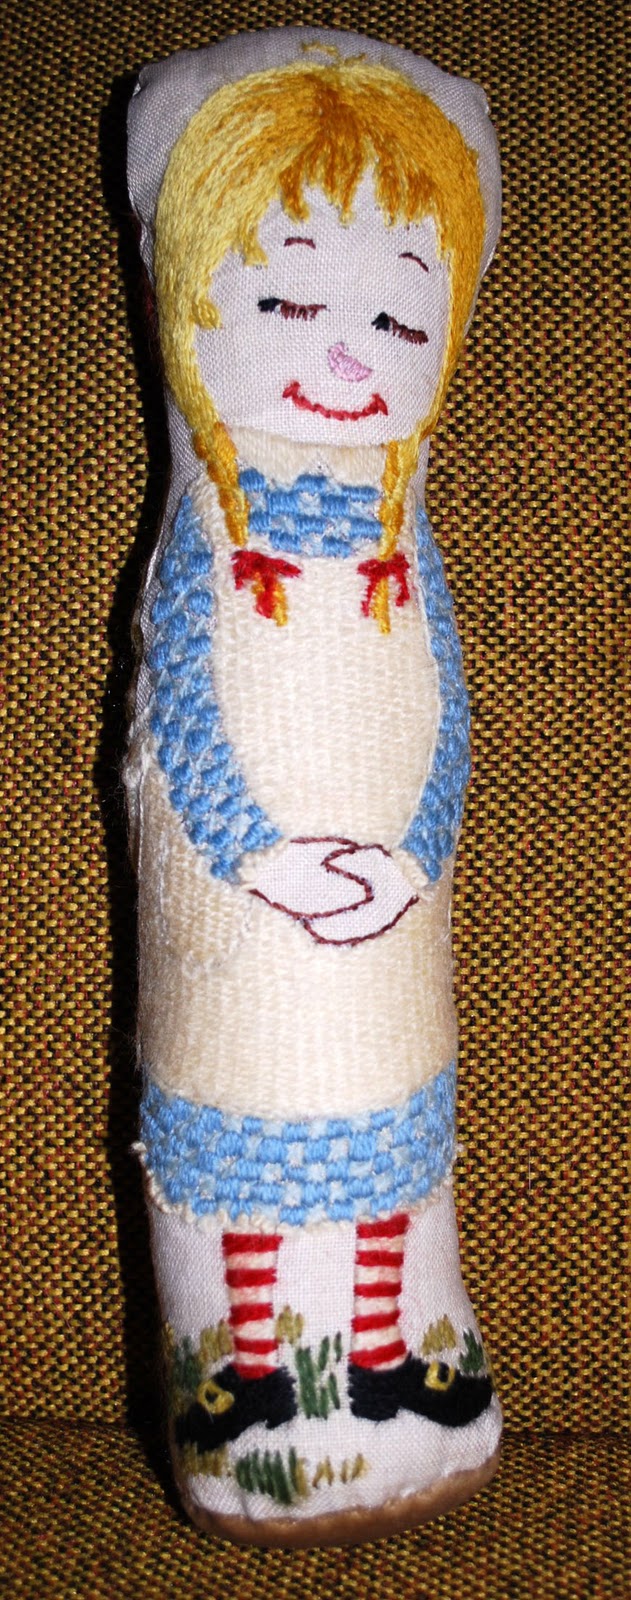
This year we got a LIVE tree. Live trees are HEAVY. Erik and I had a heckuva time getting it from my car into a pot, then another heckuva time trying to get it straight. Seriously, it must weigh 300 pounds. There was no way we were going to be able to lug it up our stairs so we put it in the downstairs rec room instead. After Christmas we're going to plant it in our to always remind us of our first Christmas in this house.


I managed to make a few Christmassy things this year. Our frogs George and Harold and their snail Mr. Krup have their very own Christmas tree, so I made a tree skirt for it:


Our previous stockings had all been made in different years and there was no cohesion whatsoever, so I figured since we have a new house and new mantel, new stockings were in order:

I'm not really fond (or good) at baking, but I did manage to make these with the kids.
(Not pictured, the giant mess we created in the process).

Also, I made these matching Christmas pants for the kids:

But not the dog.


I hope this season finds you warm and happy and surrounded by love. Happy Holidays!

Tuesday, December 14, 2010

Tutorial Tuesday: New Life for Old Embroidery

Since McKenna doesn't read my blog I figure I can share this Christmas present I made for her. When I was her age I had this embroidered piece hanging in my bedroom:


I think my mom made it, but I'm not sure since it doesn't have the M.A.P. initials she usually stitches on her work. I remember it in my bedroom in the first house I lived in, but I think it went into storage after that. When I got it back a few years ago it was falling out of it's frame and had a water stain at the top. I won't recommend doing this to your vintage embroidery, but I took it out of the frame and threw it in the washer. Luckily, it held up well. Next, I folded it in half:


and carefully cut around the boy and the girl making sure not to snip any important parts. If you want to do a project like this and don't have two similarly shaped embroidery pieces, you could simply use fabric for the backing.

I machine stitched those pieces together and when it was still inside-out, I cut out a circle of velvet and stitched it around the base leaving a two-inch opening. I then turned it right-side out, stuffed it, and stitched it closed. In a matter of 15 minutes an old embroidered piece became a brand new two-sided doll.


 I love that something I used to stare at on my wall when I was a three-year-old is now something my three-year-old can hold.

Tuesday, December 07, 2010

Tutorial Tuesday: Scientifically Impossible Snowflakes

Nothing says winter like paper snowflakes. I was in my studio the other night playing around with paper and scissors and decided to take this craft one step further and make fabric snowflakes backed with HeatnBond.  After a few mangled mishaps, I came up with these:

A wall decoration:


A relatively easy project - just pop it in an embroidery hoop and hang it on the wall.

This shirt for McKenna:


I stitched this one around the edges, which took forever.


This bag:


Vinyl on vinyl. I like the silkscreen effect.

And two-sided this ornament:


If you want to do this project for yourself, the instructions are easy. Simply iron the HeatnBond onto fabric (thinner fabric is best, I used shimmery satin), cut as you would cut a snowflake, peel off the paper backing, and iron it down.

Here are some tips:

1. Practice on paper first. Get a design you like and use it as a template for your fabric snowflake.

2. Don't get too intricate - especially if you plan on stitching around the edges.

3. If you plan on stitching around the edges use HeatnBond Lite. If you aren't going to sew it use HeatnBond UltraHold.

4. When ironing vinyl on vinyl, cover it with a thin piece of cotton so the iron doesn't melt the vinyl.

5. Snowflakes have SIX points, not EIGHT like I made mine. It wasn't until I'd completed most of these projects that I watched Martha Stewart this morning and she was discussing snowflake making and I heard her say, "Remember, your snowflakes should always have SIX points." And I looked down at the snowflake I was ironing and counted one, two, three, four, five, six, seven, EIGHT! Crap! I should have paid attention in science class. Damn you Martha Stewart and your crafty perfection.

6. For instructions on how to make a proper snowflake, check out this website. I wish I had.


Even my 8-year old son said when he saw all my snowflake projects, "Um, mom, snowflakes only have 6 points. Everyone knows that." Gahhh! Erik told me he didn't even notice they were snowflakes, he thought they were medieval crosses. Jeez. CraftFAIL. Oh well, they say no two snowflakes are alike. Mine are apparently all the more special since they're scientifically impossible.

Tuesday, November 30, 2010

Tutu Tutorial Tuesday

A few weeks ago I won a contest on my craft-friend Tess's blog. Check out her site here - misstess.com. In addition to being beautiful, she's wildly creative and fun. The prize I won was a tutu kit - 4 colors of tulle pre-cut into long strips, elastic, and tutu-making instructions. Fun!


 Since McKenna's the dancer in the family, I decided to make one for her:


It came out very fluffy. I'm afraid she's going to tickle all the dancers around her with her great big tutu. So I made her a more manageable one:


And I still had several strips left over so I started playing with them and ended up making this:


Simply take a strip of tulle (approximately 3" x 40"), fold it in half, cut the loop, fold in half again, cut the loops, and continue until you have a handful of tulle strips approximately 4 inches long. Then take one of the strips and tie all the other strips together with it tightly in the middle. Viola! A tulle ball. Now what? Well, you can stitch a barrette to it:


and wear it in your hair.


or tie a couple to some hair bands:

and make tutus for your pigtails:

 or stitch a pin to it:


add a fancy button, and wear it on your chest.


I thought this pin and barrette looked rather Christmassy. It's a cheap and easy present you can make for the funkier ones in your family.


I also made these by going one fold further and ending up with tiny 2 inch tulle balls:


I'm not sure what to do with them though. I finally found what they're good for - a cat toy!  Now I  know why Tess likes tulle so much. The possibilities are endless!

Monday, November 29, 2010

Custom Monster Making

Recently, a friend asked if I was still making kokoleo monsters. I haven't in a while. I used to make and sell them all the time. I stopped partly because of the scary CPSIA that basically makes selling one-of-a-kind handmade toys illegal in America. But shhhhhh, don't turn me in, I made some anyway.

I told my friend, sure, "I'll make a couple monsters for you." and she said, "Great, I'll send you the drawings my nephews did." Ha. I forgot that on my website there's a section called Design Your Own Monster, a service which no one has ever taken advantage of before. (Note to self: Revamp website ASAP.) I accepted the commission anyway, and I'm happy I did. 

Here's Bruce's monster drawing:


And here's what I came up with:

 I tried to be as true as possible to his artwork. The most difficult part was devising a way to make the extremities sturdy; a problem I solved by reinforcing them inside with 2-ply naugahyde. The next problem was the face since it was drawn in outline form; the mouth wouldn't look the same against a blue background so I added a circle of white fleece and it instantly looked more like the drawing. Here's a view of the back:

Next is Brett's monster:


I wasn't sure if the rocket thingies shooting out the sides were part of the main monster, so I looked to the 3 tiny monsters hanging beside him. They were each drawn similar to the big guy and since they didn't have rocket thingies, I figured the rockets were separate. Having solved the last outline issue with white fleece, I did it again for this monster:


Back view:

Now they're in 3-D form, freed from their papers and ready to fly across bedrooms, fight off evil-doers, scare away bogeymen, and snuggle with two very creative brothers. Bye guys!

Tuesday, November 23, 2010

Tutorial Tuesday - Freeing the Frankenteddy

This coming Friday is my birthday. Yesterday, I got a package in the mail from my mother. In it were some nice presents, a few cute Thanksgiving decorations, a birthday table runner, and some questionable clothes. I'm guessing, since the clothes weren't wrapped and they didn't have tags and they looked more her style than mine, that she was donating them to my fabric stash. She knows when she sends me hand-me-downs that they sometimes end up all cut up. As a personal style rule, I steer away from wearing teddy bears and shoulder padded sweaters. I'm all for patchwork too, but in this case the patchwork effect is kinda creepy.


 It was almost as if the zombie Frankenteddy was speaking to me asking, "Please get me off this sweater and make me a real teddy bear. I promise I won't eat your children's brains." So I obliged. Here's how you can free any other poor character out there from the confines of their ugly sweaters.

First, turn the sweater inside-out and carefully cut out both sides together. Don't handle it too much or it will start to fray.


You can hand stitch it, but I recommend doing it on the machine for less mess and faster results. Leave an opening in an inconspicuous area (I chose the inside of one of the legs), turn it right side-out, check to make sure there are no gaping holes where the machine missed, and stuff it, then hand-stitch the opening closed. McKenna helped with the stuffing part:


Much better. Now there's one less ugly sweater in the world and one more zombie teddy bear.

Thursday, November 18, 2010

Jessie's Tree

 Two summers ago my friend Jessie gave me a box full of gorgeous vintage velvets fabric that had belonged to her grandmother, an artist and quilter. 


  When her grandmother died and the family cleared out her home, Jessie chose the huge heavy box of fabric as her memento and lugged it on a plane all the way from West Virginia to California. She told me that more than anything, seeing and touching those velvets reminded her of her grandmother - her style, her quilts, and her art. The problem though, was that Jessie doesn't sew, so the fabric stayed in the box in a closet in her house. One day she brought it to me and asked if I could use it. I said, "Yes!" It was the kind of haul that would have cost hundreds of dollars retail, yet it was vintage, impeccably kept, and unlike anything available today. All she asked in return was one of my trees. She told me she had wanted one of my tree wall hangings for a while, but thought she might love it even more if it was made with her grandmother's velvet. She said there was no rush, to take my time and let it happen whenever the inspiration struck. 

  Then, a year and a half and 800 miles later when I was unpacking the box into my new kokoleo studio, inspiration struck, and a few weeks later it made it's way back to California in the shape of a tree...


rooted in family, friendship, West Virginia, California, Washington, and love.

Tuesday, November 16, 2010

Peace Out, Turkey!

Last fall, Sage and I made this peace sign t-shirt.


And it was featured along with a peace-themed tutorial I wrote in the Fall 2009 issue of Kids L.A. magazine.


Since they didn't use these pictures, I thought I'd share the tutorial with you. It's a quick fun project in which your kids can give you a hand... literally. Simply iron some Heat-N-Bond light to the back of some fabric.


Trace your hand.


Cut it out, iron it on, and stitch it down. It's that easy! When Sage tried that shirt on the other day it didn't fit anymore and his hand was bigger than the hand we traced a year ago. Time flies and kids grow fast; every now and then it's good to stop and record the moment.


When I was trying to come up with something to make for this week's Tutorial Tuesday, I thought of that project and decided to combine it with the quintessential Thanksgiving craft - turkey hands! This time McKenna lent me her hand.


I added some felt, a button, and a turkey beak and waddle left over from last week's turkey craft...


and stitched them together like this:

  
 High five... Turkey!

LinkWithin

Related Posts Plugin for WordPress, Blogger...